

Ubuntu မွာ Window 7 Style (Winbuntu) ေျပာင္းသံုးမယ္လွ်င္ ပထမဦးဆံုးအေနနဲ႔ Window 7 Theam (Winbuntu) ကို Downloadလုပ္ထားရပါတယ္..။ မွတ္ခ်က္။ ။ Internet ခ်ိတ္ဆက္ထားမွ ရပါမယ္.။ (Winbuntu) ကို Download ျပဳလုပ္ဖို ့အတြက္
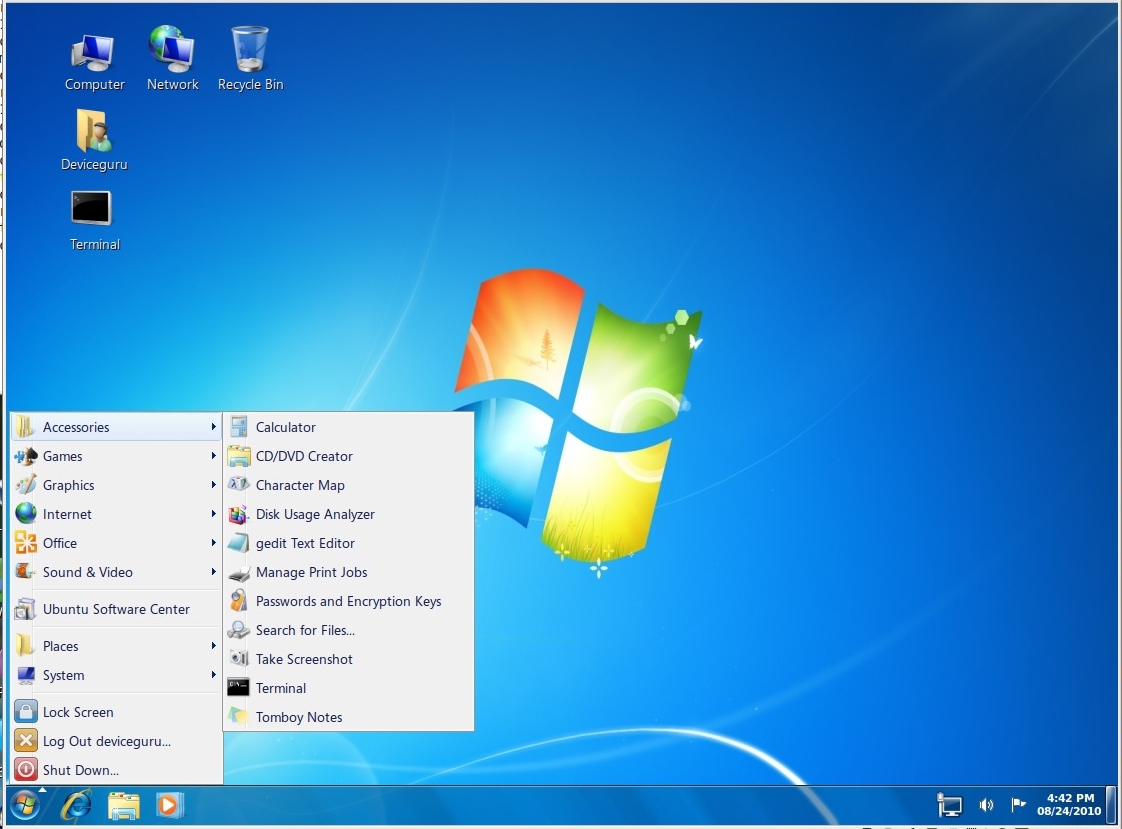
၁။ Terminal (Applications –> Accessories) ကို ဖြင့္ၿပီး ေအာက္တြင္ေပးထားေသာ Commands ကို ကူးထည့္လိုက္ပါ။
cd $HOME
sudo wget http://web.lib.sun.ac.za/ubuntu/files/help/theme/gnome/win7-setup.sh

sudo chmod 0755 $HOME/win7-setup.sh

$HOME/win7-setup.sh

၂။ Download ျပဳလုပ္၍ ၿပီးပါက Install ျပဳလုပ္ရန္အတြက္ Window ေပၚလာလွ်င္ OK ကို ႏွိပ္လုိက္ပါ။

၃။ Essentials ကို Install ထပ္လုပ္ရန္ျပဳလုပ္ရန္အတြက္ Window ေပၚလာလွ်င္ OK ကို ႏွိပ္လုိက္ပါ။

၄။ အားလံုးၿပီးဆံုးလွ်င္ Window 7 Theme (Winbuntu) ကို Setup ျပဳလုပ္ရန္အတြက္ Terminal (Applications –> Accessories) ကို ဖြင့္ၿပီး ေအာက္တြင္ေပးထားေသာ Commands ကို ကူးထည့္လိုက္ပါ။
setup-win7-theme
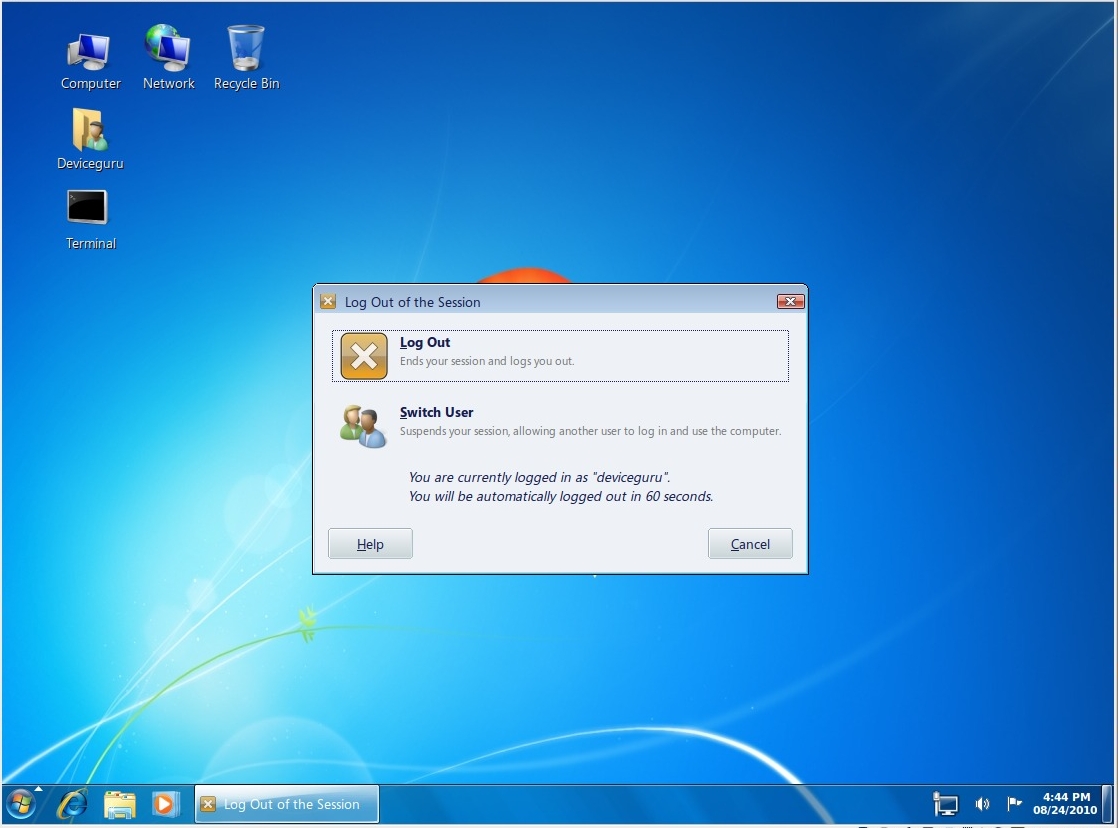
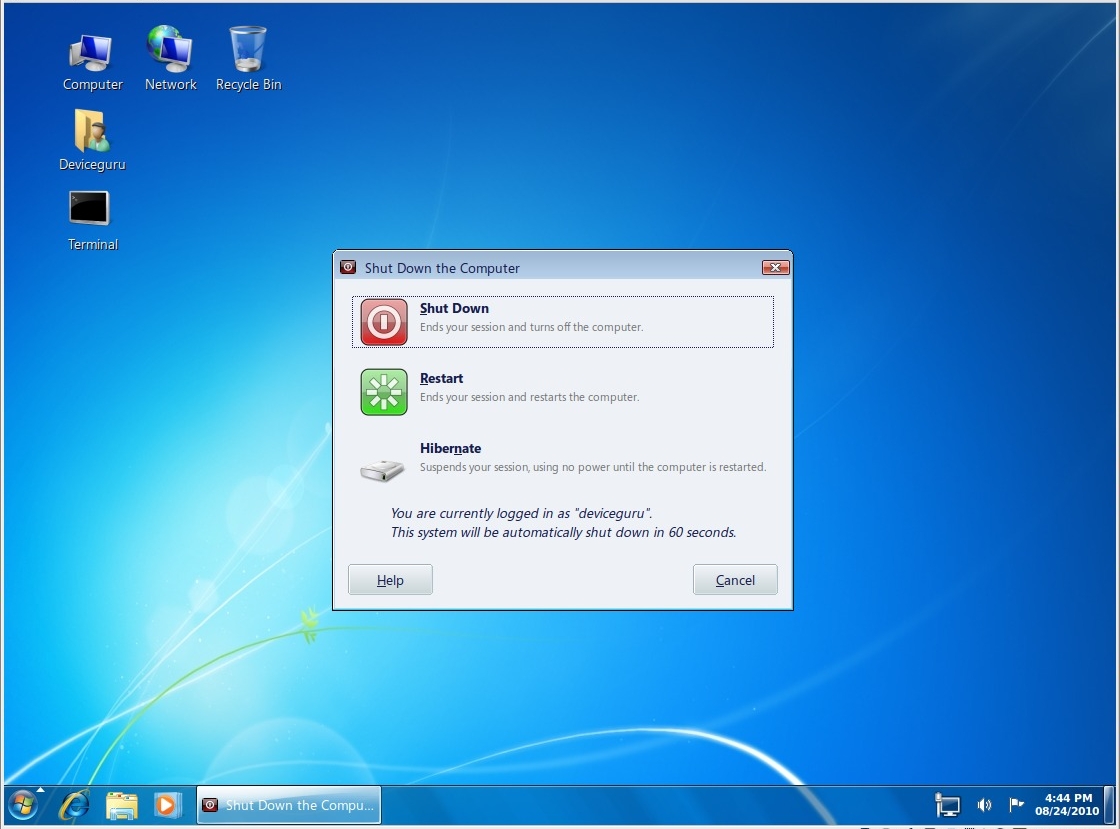
၅။ Setup ျပဳလုပ္ၿပီးပါက Logout ျပဳလုပ္ခိုင္ပါလိမ္။ Logout ျပဳလုပ္ၿပီး Login ျပန္၀င္လိုက္ပါ။

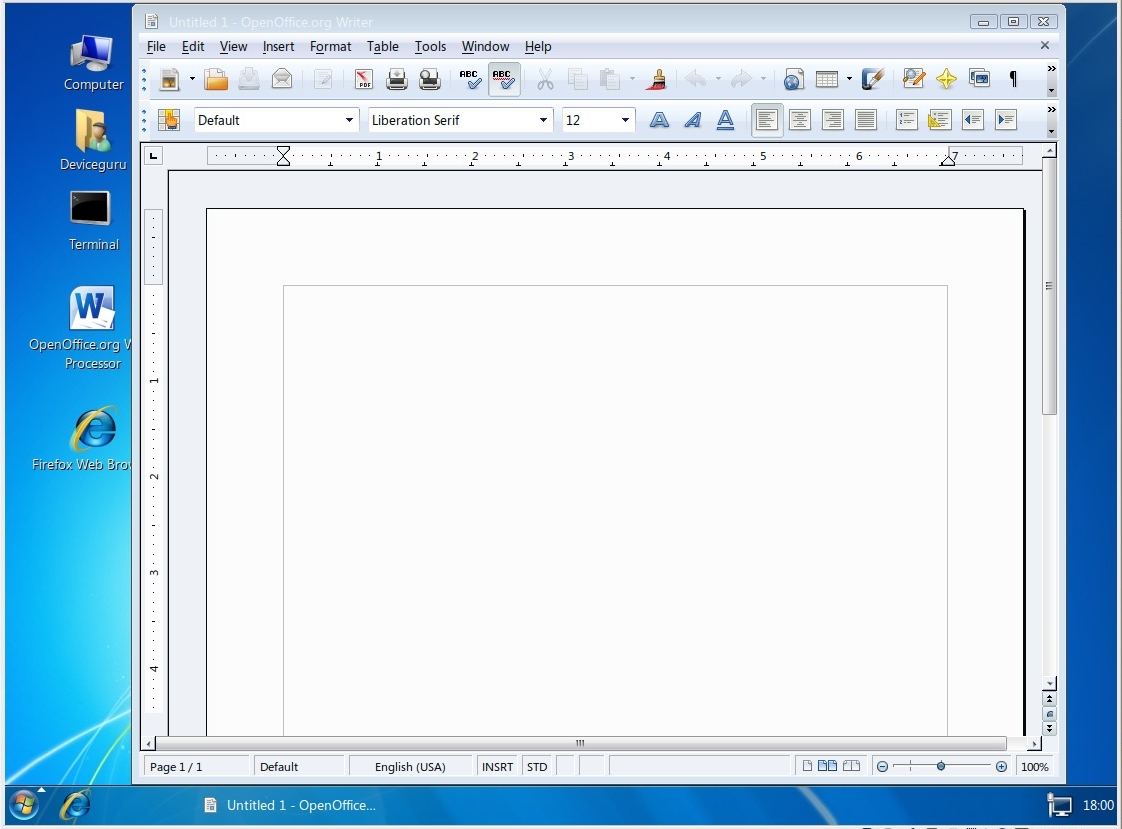
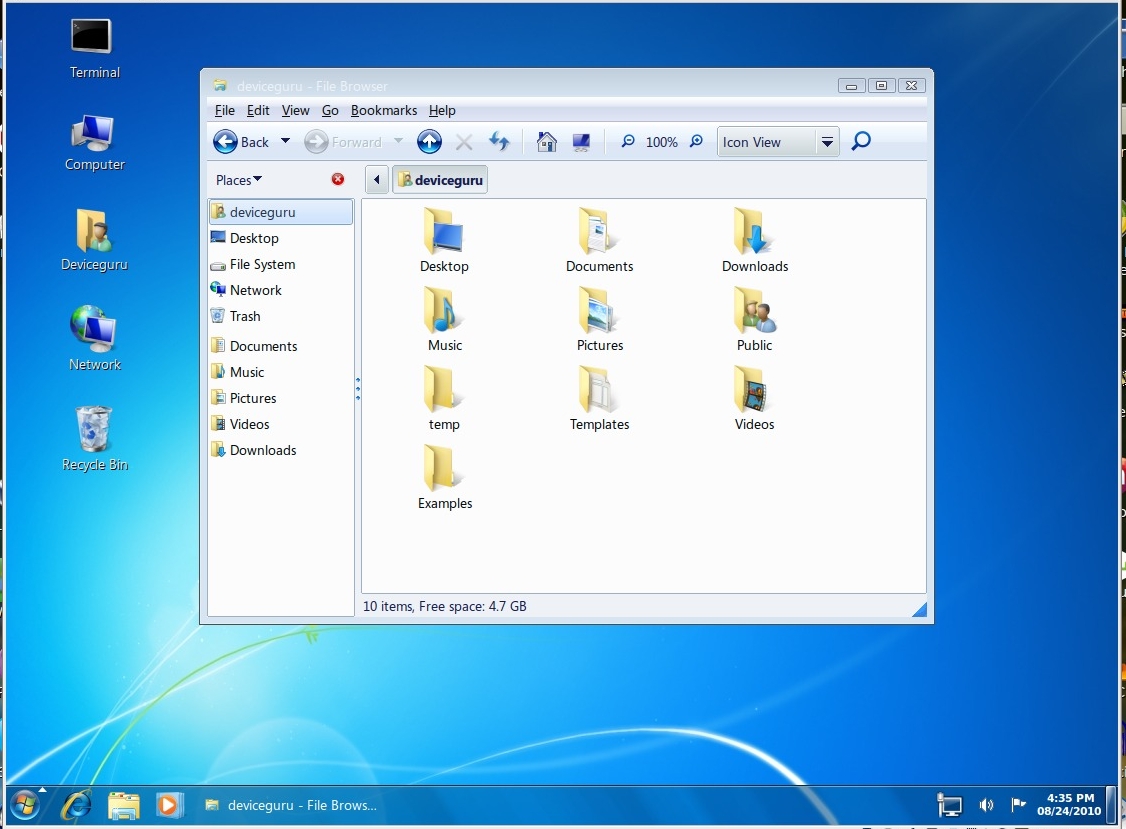
၆။ Logout ျပဳလုပ္ၿပီး Login ျပန္၀င္လိုက္ပါက Ubuntu မွာ Window 7 Style (Winbuntu) နဲ႔ အသံုးျပဳႏိုင္ၿပီျဖစ္ပါတယ္။


၇။ Window 7 Style (Winbuntu) ကို အသံုးမျပဳခ်င္ေတာ့ဘူးဆိုလွ်င္ေတာ့ Home Folder ထဲက win7-uninstall.tar.gz ကို archive manager နဲ႔ ဖြင့္ၿပီး Double Click ႏွိပ္လုိက္ပါ။

ထိုအခါ မိမိရဲ႕ Username ကို Double Click ထပ္ႏွိပ္လုိက္ပါ။.gconf File ကို home folder ထဲကို extract လုပ္ၿပီးလွ်င္ Logout ျပဳလုပ္ၿပီး Login ျပန္၀င္လိုက္ပါ။ ဒါဆို အားလံုးပံုမွန္အတိုင္း ျပန္လည္ျဖစ္သြားမွာကို ျမင္ေတြ႔၇မွာ ျဖစ္ပါတယ္။


No comments:
Post a Comment